I've been kind of slacking on working on the costume due to needing help from my mum and not generally having the help around, as she's been busy lately. So I've been doing the things I can do on my own! First thing I've worked on, the plastic mesh head to secure the raptor head on top of my own. I used Matrice's tutorial for it, and found it quite simple. Only issues with it were that I had to have help make sure it was tight enough while holding the strips together, then to help mark it so I knew where to cut. For this, I used a very big, plastic needle with a huge hole used for needlepoint (on needlepoint mesh, who would have guessed, right?) and sewed through the holes just as if it were normal. It worked well, very strong and secure fit. We'll see how it works on the final product as far as staying on, but for now it seems very secure and I'm sure it will be more so once with an elastic jaw.


I made the strips two inches wide, which seems to have worked well.


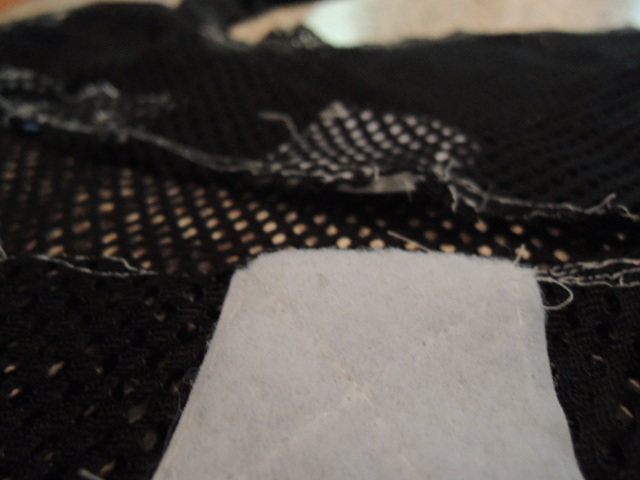
This is the athletic mesh bodysuit, which we purchased the fabric from Seattle Fabrics. We ordered two yards, which was not enough for myself as a 5'3, 100 lb. girl. The arms fell off the sides of the fabric and that was all right, we used scraps however one of them we plan to replace as it came out pretty messy. I recommend saving yourself the trouble instead of working with scraps, just go ahead and order enough. We'll need more for more than just repairing the arm so it's all right, as we need more anyway.
Originally we were going to use a zipper to get in and out of the front, however we decided to use velcro as it felt like it would be more trustworthy and less likely to fail or break or fall apart. The sewing machine HATED the velcro, so after two of them I went to hand sewing it. It's not the adhesive kind, we didn't think it would be enough for it to hold.

I basted the entire thing (loose stitches) several times to modify certain places however I also staystitched it three times. Fursuit makers, costumers who create fur-costumes made to look like animals (sometimes anthropomorphic) often charge pretty hefty prices to staystitch it more than once which I felt was unreasonable, however I can definitely see why after doing it myself three times. I'm working on a fabric with many holes in it, meaning the sewing machine doesn't grasp it very well, so I assume it's also difficult to sew fur as well, if not harder than a mesh fabric like this. Good side of that though is that it breathes well, and that when basting it didn't matter if I made a gazillion holes in it that I didn't like. This suit will be used to glue on the foam, and generally used to help put the costume on.

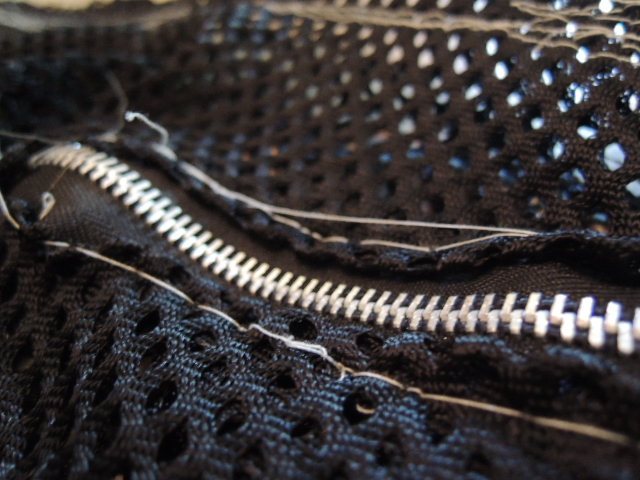
On the back of the ankles, we've installed a zipper on each ankle. The ankles were very loose when we made it, as my heels would not force through the open holes in the bottom. I didn't like the looseness, I wanted the suit to fit very well so that the foam would stay on firmly so we decided to put little 7 inch zippers along the backs of my ankles to keep it tighter while I could still get my feet in. Shouldn't be too hard to cover with foam, either.


The elastic...ugh. This elastic is eight inches wide, one yard of it, which I thought would be way more than enough but I'm quite petite even and it's just barely enough. This is to attach to the tail, and keep it held up. The velcro I have begun attaching and I'm telling you, it's a pain. The entire thing is very thick and hard to pierce through with a hand sewing needle and has pretty much rubbed my fingers raw. I haven't taken any pictures but we couldn't find any velcro sheets, so I've cut it into eight inch strips, six of them, to attach and will take pictures when we've got that going.


