
A nice picture of my attempt at a neat pile of foam. Not so good. Since this though, I assure you I have used up quite a bit of it (although we still have plenty left!). I have not taken pictures of the torso, I have worked on it however I'm not sure where I'm taking it from here.

The first tail, which was trashed, heads up. We took the pool noodle, wrapped the foam around it, glued it with Super 77 then used duct tape to hold it down however this idea was trashed due to the lack of swing to it, and overall it didn't hold well.


It looks pretty rubbish, so we pulled all the foam off of it and put the pool noodle aside to just use the upholstery foam.

Here's where the tail began. Two blocks of three inch foam, two blocks of two inch foam. Staggered together, mind you.

Lotsa foam.

We did the same staggering method throughout the entire tail, just doing it like bricks. The last little end of the tail is just a scrap of two inch (maybe three?) I had around, and it worked perfectly! Wiggles just like I want it to.


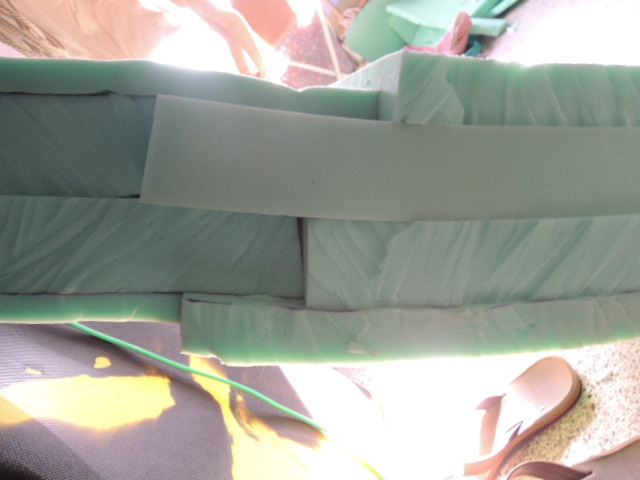
Brick laying.

It got a bit more difficult and complex as we went on but I figured it out, luckily. While working on this entire thing I've watched three out of four seasons of Kim Possible. So I say definitely take advantage if you can do this in front of a TV or have a laptop.


The not-so fun part. We used math to make the tail as symmetric as possible.

We used a ruler to put a straight line to make it easier for us.

Then we did some math, figuring out how wide it needed to be at certain points and drew the lines for me to work from.

Pretty good way along. Also keep in mind, we intended for one side to be the top but a different one ended up being the top with a few minor fixes.

More progress. By this point I have about 40/58 hours in. Yes, this tail took about 58 hours in all to get where it is at the end. That's how I have watched so much TV while working on this darn thing.

I also recommend a buddy to keep you sane while working on such a huge project like this.

I did my best to make it smooth however I'm not stressing, as we're thinking about doing a "scale effect" to it (more on that when it comes time) and if we don't do that, I don't think it will really show through the fabric. We ran into a few things regarding how to attach the tail to the body however I think we figured it out. When we get to more specific stuff like that, I will be writing up actual tutorials for such a project.

I got some pretty terrible blisters on my hands from the scissors, despite being spring-handled and extra cushy. So one day I used a glove and it still didn't help all that much. So, I wore the other glove on top of it and it was perfect.

The tail all smoothed out, however not quite done.


I've been keeping up the foam scraps to contain the mess, my mum thinks we might use them to stuff a dog bed or something, haha. Surely we can reuse them for something.

Going right through the foam still.


One thing we tried was to glue (E6000) to the waist elastic. However, it held for about ten minutes before it completely fell off so I don't recommend gluing the tail to anything to hold it up. We'll be relying on sewing, hopefully if it all goes to plan.

The more finished tail! The end part I think looks all right but I may fix it up. You can see on Monoyasha's raptor ( http://monoyasha.deviantart.com/art/Velociraptor-Fullsuit-1-254975766 ) as well as most raptor drawings ( http://fc08.deviantart.net/fs71/i/2011/065/2/7/velociraptor_sornaensis_female_by_beastisign-d3b36u6.png ) how it comes down and under the crotch--this will also be used to hold the tail up, again which I'll go over when we get there.


I also started on the hands! This is the bottom of them, with the finger extensions (kept extra long for now until I decide how I want the claws to be)

For good hold and extra nimble fingers, the foam is cut slightly and slid over the fabric.

On the top, there are some pieces to raise it.

Then this piece which I just cut out to the same shape for each hand. Still a lot of work to go but they're a start. I also made a quick clip before the tail was done, showing the brick-laying method. http://www.youtube.com/watch?v=E8HvykGhzzc


