There are plenty of examples for patterning online with duct tape, but the main thing I have to say about it for advice is to definitely use plastic bags. I see a lot of people say to use cellophane but plastic bags are something we have way too many of despite re-using shopping bags and they work just great with the duct tape. I just cut out pieces and hold it over while covering the piece with duct tape.
Good look at how the foot will look with the claw.
The tail was so big I didn't use duct tape though, since that would probably take some three-five rolls of it. I used brown paper, which we keep around to wrap fish in for my dad's work. It worked just great though with duct tape to put the pieces together, then cut it down the middle. Something I keep having issues with is after sewing it together and putting it on, the fabric is so stretchy it's just covered in wrinkles if I don't make the pattern a good inch or two smaller before sewing.
Despite that being an issue though, USE SPANDEX if you can! This is SO easy to work with since we have the correct needles. It's great. Stretches right over so it doesn't matter if it doesn't fit perfectly. Just takes a bit to get used to.
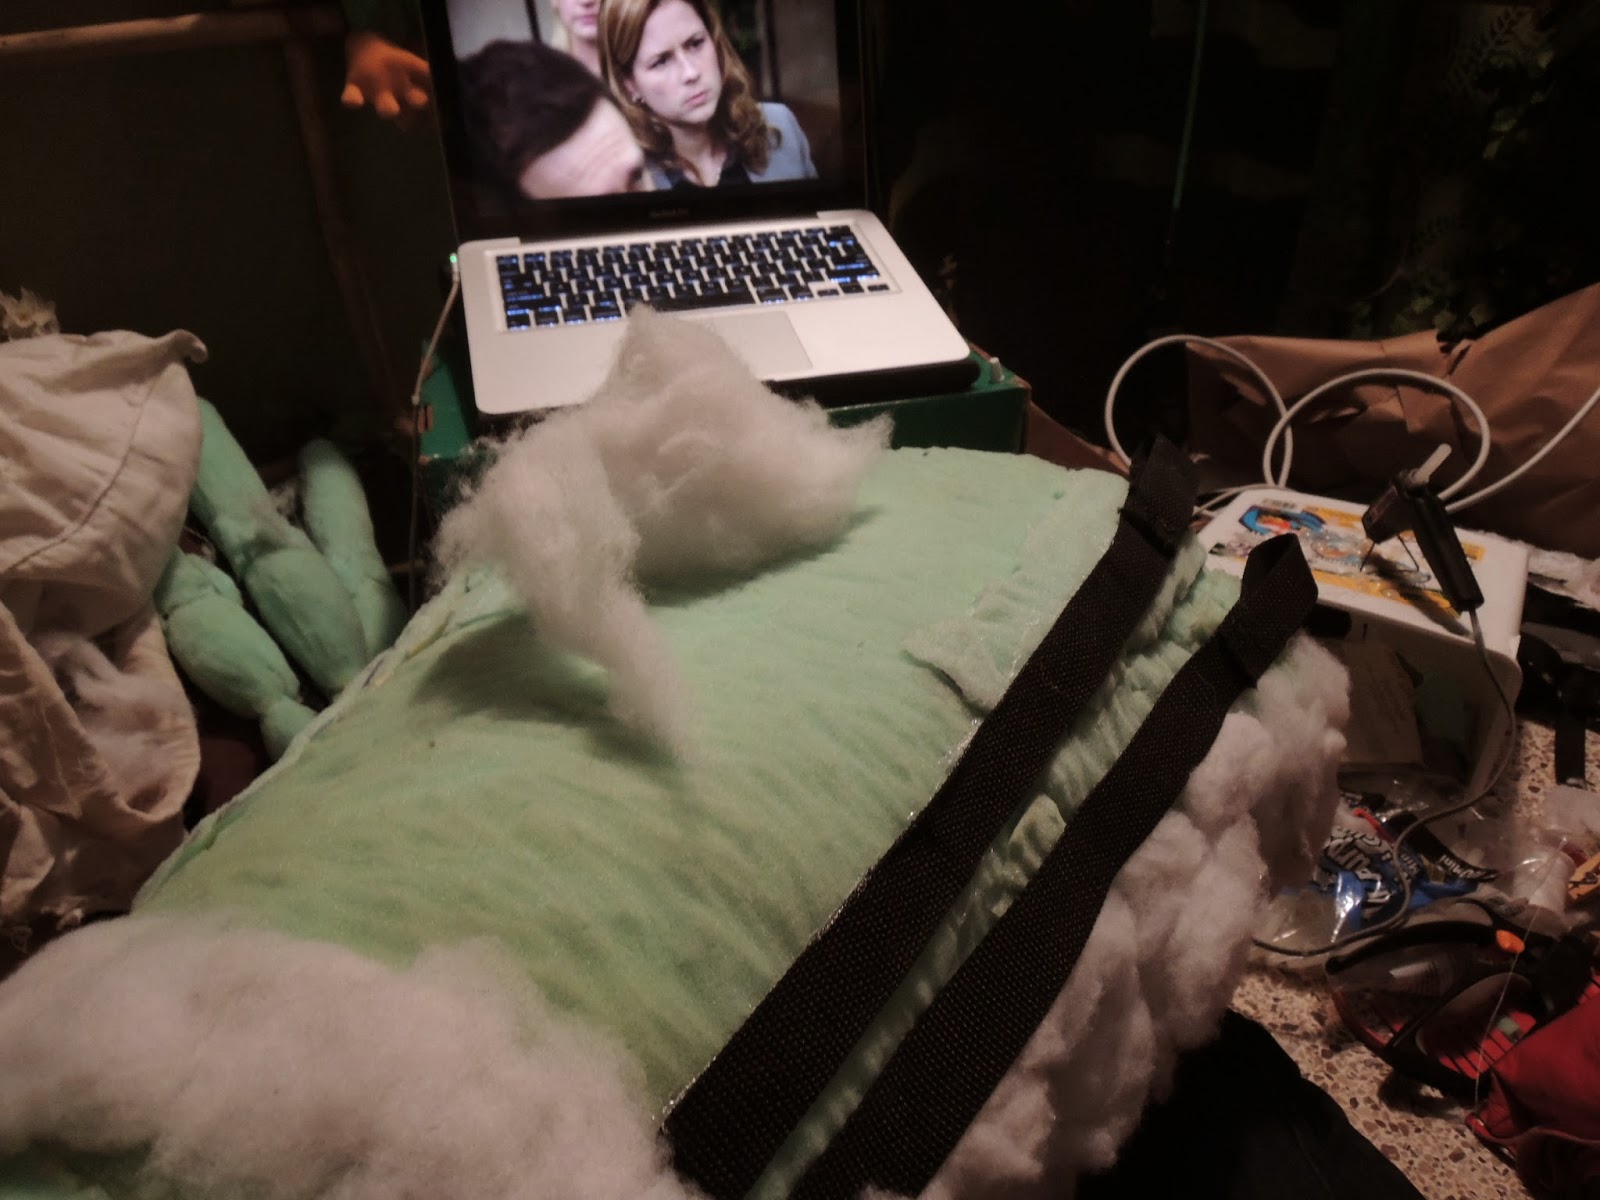
After I sewed the tail pattern though, the nylon webbing showed up right underneath it and looked pretty fake. So I took some stuffing and used tacky glue to put it right over the webbing, which, voila, cured the problem! It looks great now and feels pretty cool too.
Tail! I cut the pattern so the seam only goes right down underneath the bottom and it looks great, seamless and everything.
On the pressure points of the costume--crotch, armpits, hands, I'm going to double or triple stitch it but for the most part I think it's okay with once.
I'm really happy with the way this hand turned out but I made the mistake of thinking the hands were perfectly symmetric. Same with the feet too, haha. It's not. At all. Make separate patterns for each of them instead of just making the patterns backwards. Save the trouble.
The one on the right was used with the left foot's pattern, which you can clearly see. Won't matter because the tops of the toes go all the way down to the foam-toes doesn't bother me at all, but it's something to keep in mind.
Then pouring the resin earlier! I filled up the ladle with water before even starting and then poured it into the little mixing cups that came included in the kit but somehow I still didn't fill the ladle all the way up to the top. I don't think it'll matter, but I am a bit disappointed with that.
After following the directions very precisely, I'm hoping it'll all go right! Outside curing right now.


No comments:
Post a Comment